How to read a hiking trail map properly
ALLIBERT TREKKING EXPLAINS
It’s a two-dimensional representation of the ground as seen from above using drawings representing trails, paths, fields, summits, forests, streams, inhabited areas, and so forth. In short, all of the elements that are landmarks or obstacles during your trek (see legend below).
In France, trekking or hiking maps are generally available at a scale of 1:25,000 (1 cm = 250 m). It’s best to use the same scale all the time to avoid judgement errors, but maps are not always available for every destination above 1:50,000. So, sometimes you need to adapt.

You need to practise regularly by beginning with well-known countryside or urban areas. The idea is to trace a theoretical route on a map, and then do it on the ground. You’ll understand very quickly if you have interpreted the relief and obstacles correctly, and if your landmarks are reliable.
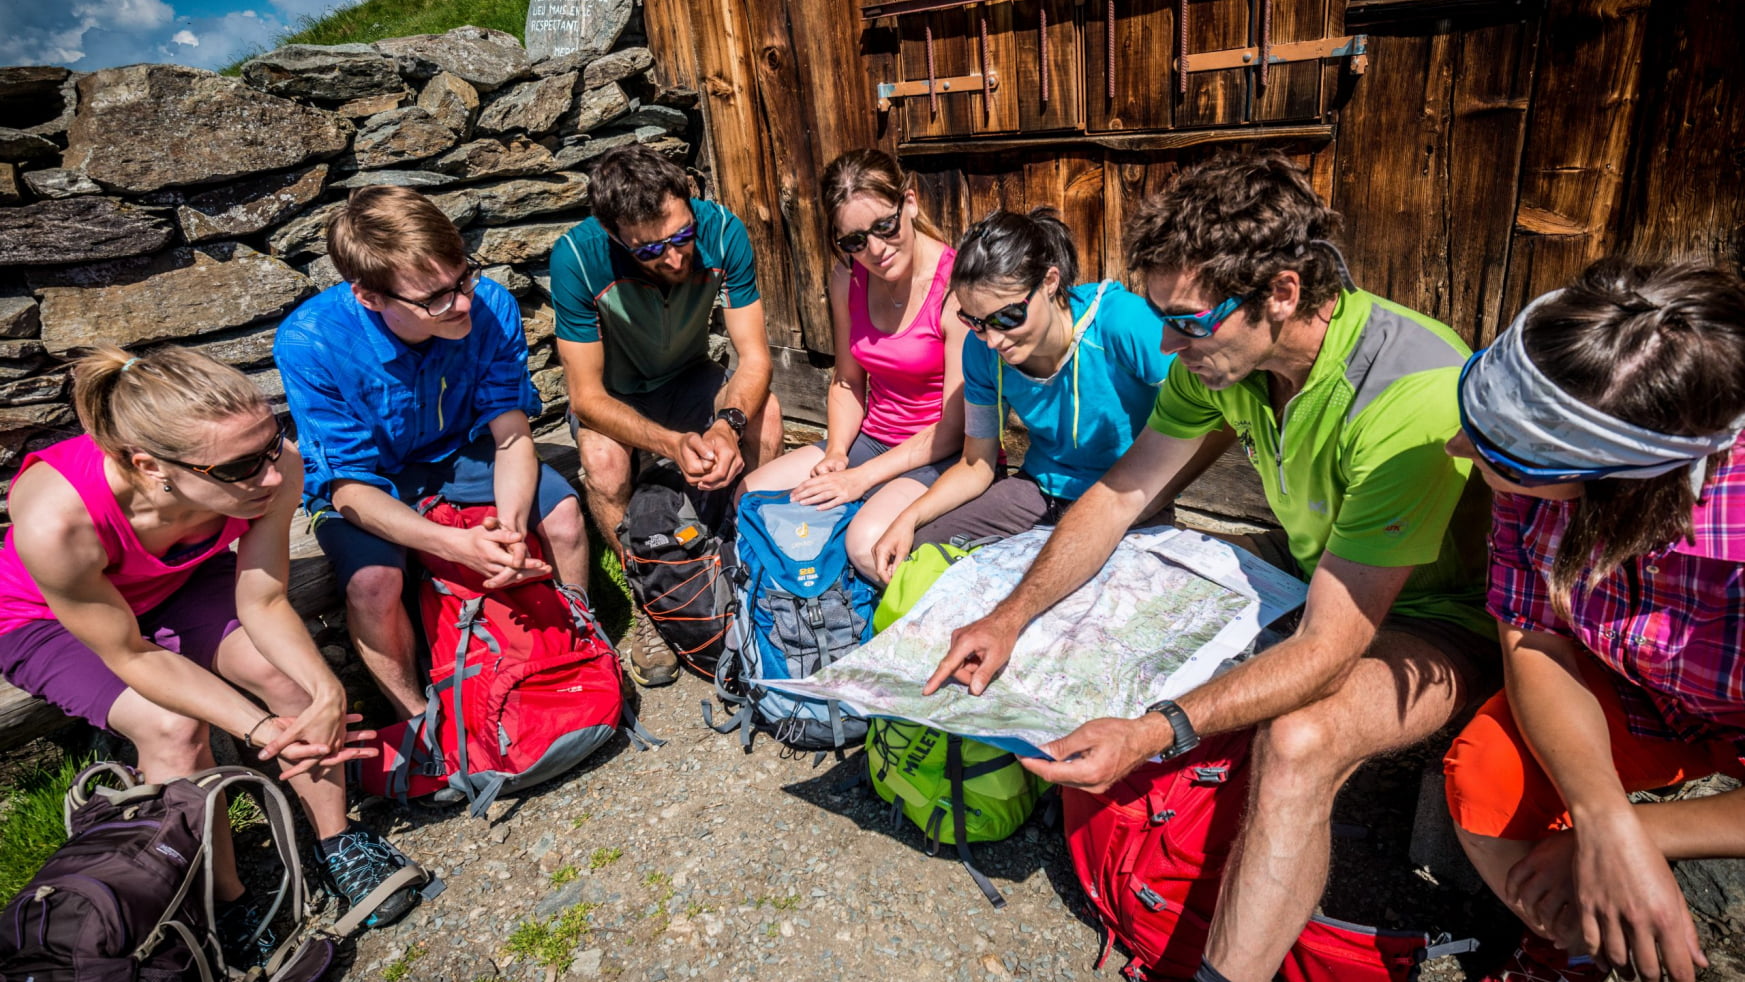
Get a good vision of your route before you leave, and then take the time to consult the map every half hour to verify your position and your direction. To do this, find the north using a compass or a reliable landmark and place the map according to the direction of your route. If the land features correspond to those on the map, you’re heading in the right direction! If they don’t, check the direction on the map and never hesitate to retrace your steps.

A snow bank can force a detour or a trail can get lost among the other twists and turns of animal paths in a vast meadow. Regardless of your destination or your route, using a map is indispensable.
A compass is mandatory to avoid mistakes in direction, especially in fog and at night. An altimeter could be useful but is not really indispensable, especially because it needs to be adjusted regularly. Lastly, a GPS can be used mainly for vast arid and snowy stretches. Under “normal” circumstances, though, nothing beats a map and a compass!
The legend: the key to reading a hiking map correctly
Main symbols used
- Cardinal points: the north is always at the top as indicated by the compass rose
- Roads and railways: two relatively thick black parallel lines
- Paths and trails: relatively thick magenta dots or lines
- Forests, fields, and orchards: relatively plotted green-coloured zones
- Lakes, seas, swamps, rivers, and streams: blue-coloured zones and lines
- Houses and monuments: black symbols
- Relief: orange contour lines and shaded areas to locate summits
Understanding correct map symbols helps us make fewer mistakes.